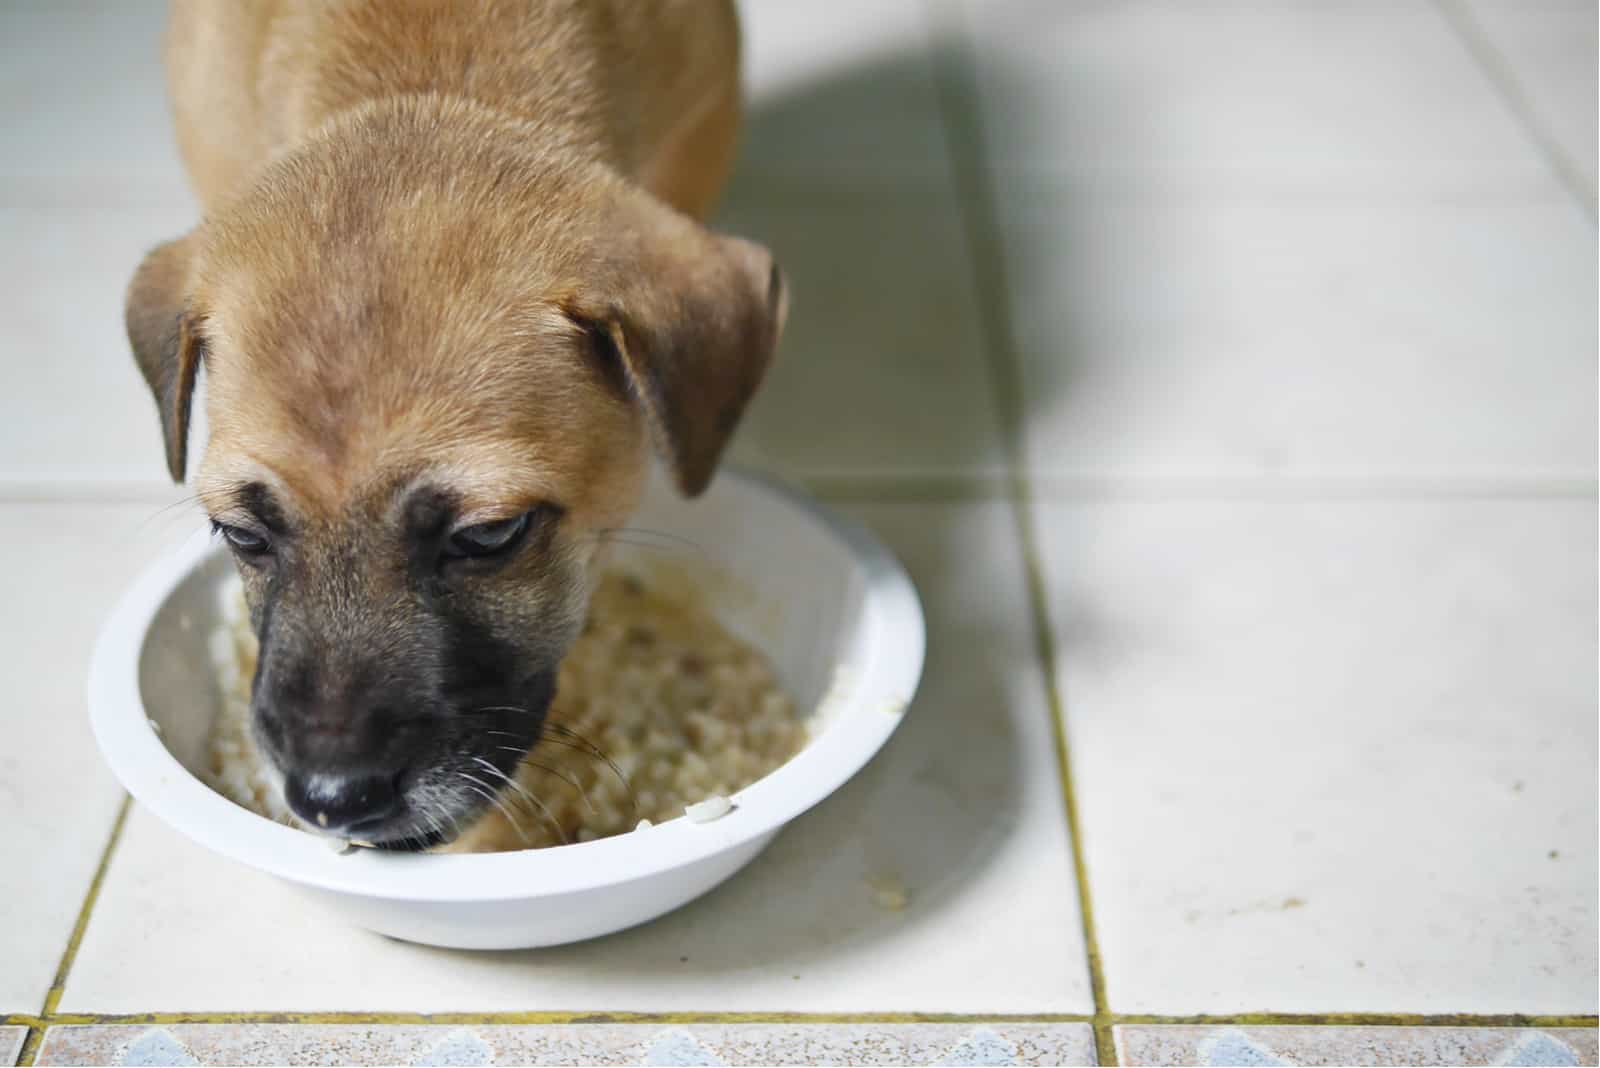
When it comes to nurturing our furry companions, especially during their early growth stages, the right nutrition is critical. One of the best ways to ensure that your puppy gets all the essential nutrients they need is through a homemade puppy mush. This delightful blend serves as a transitional food that slowly introduces your puppy to solid meals while providing a soft texture that's easy to consume. Making puppy mush can be a fun and rewarding experience for both you and your pup. In this article, we will dive into the process of creating puppy mush, the benefits it offers, and answer common questions surrounding this nutritious dish.
As responsible pet owners, we always strive to provide the best for our puppies. Puppy mush is not only easy to prepare but also allows you to control the ingredients, ensuring that your furry friend receives the right balance of protein, carbohydrates, and essential vitamins. This is particularly important during their formative months when their nutritional needs are at their peak. Join us as we explore how to make puppy mush, the ingredients you'll need, and tips to make it a delightful experience for your puppy.
Feeding your puppy the right food lays the foundation for their health and well-being. Puppy mush is a simple yet effective way to ensure your puppy is getting the nutrients they need for optimal growth. In the following sections, we will provide detailed instructions on how to make puppy mush, along with answers to frequently asked questions, ensuring that you feel confident in creating this meal for your precious pup.
What Ingredients Do You Need to Make Puppy Mush?
To create a nutritious puppy mush, you will require a few essential ingredients. Here are the primary components:
- High-quality puppy food (dry kibble or wet food)
- Water or low-sodium chicken broth
- Optional: Additional protein sources like boiled chicken, eggs, or yogurt
- Optional: Vegetables like sweet potatoes or carrots for added nutrients
How Do You Prepare Puppy Mush?
Preparing puppy mush is a straightforward process. Here’s a step-by-step guide:
- Start by measuring out the appropriate amount of puppy food based on your puppy's size and dietary needs.
- In a mixing bowl, add the puppy food.
- Gradually pour in warm water or low-sodium chicken broth to the puppy food.
- Mix the ingredients until you achieve a mushy consistency. Use a fork or spoon to break down any large pieces.
- If you’re adding extra protein or vegetables, chop them finely and mix them in thoroughly.
- Serve the puppy mush in your puppy’s dish and watch them enjoy their meal!
Can You Customize Puppy Mush for Your Dog's Needs?
Absolutely! One of the great things about puppy mush is its versatility. You can customize it based on your puppy’s preferences and dietary restrictions. Consider the following:
- If your puppy has specific protein needs, opt for different sources like fish or turkey.
- Incorporate ingredients that promote healthy digestion, such as pumpkin or probiotics.
- If your puppy is picky, experiment with different flavors and textures to find what they love.
How Often Should You Feed Puppy Mush?
The frequency of feeding puppy mush depends on your puppy's age and dietary needs. Generally, younger puppies require more frequent meals. A typical feeding schedule may look like this:
- 8 weeks to 3 months: 4 meals per day
- 3 to 6 months: 3 meals per day
- 6 months to 1 year: 2 meals per day
Always consult with your veterinarian to establish the best feeding schedule for your puppy’s specific needs.
What Are The Benefits of Puppy Mush?
Puppy mush offers several benefits for your growing pup:
- Promotes healthy digestion with easily digestible ingredients.
- Encourages hydration, especially if using broth or water.
- Facilitates a smooth transition from liquid to solid food.
- Gives you control over the ingredients, ensuring a balanced diet.
How Can You Store Leftover Puppy Mush?
If you have prepared more puppy mush than your pup can eat in one sitting, you can store the leftovers. Here are some tips:
- Refrigerate the mush in an airtight container for up to 3 days.
- For longer storage, consider freezing portions in ice cube trays and transferring them to a freezer bag for up to 3 months.
- When serving frozen mush, thaw it in the refrigerator overnight or warm it slightly before feeding.
Can Puppy Mush Be Used for Older Dogs?
While puppy mush is specifically designed for young dogs, older dogs can also benefit from this soft meal. It can be particularly helpful for senior dogs who may have dental issues or difficulty chewing. Just ensure that the ingredients are suitable for older dogs, focusing on their specific nutritional requirements.
How to Transition Your Puppy to Solid Food?
Transitioning your puppy from mush to solid food should be done gradually. Here's how:
- Start by mixing a small amount of dry puppy food with the mush.
- Gradually increase the ratio of dry food over several days or weeks.
- Monitor your puppy's reaction and adjust the transition based on their preferences and comfort.
By following these steps, you can ensure a smooth transition for your puppy as they grow and develop.
In conclusion, making puppy mush is a rewarding and nutritious way to care for your furry friend. With the right ingredients and simple preparation methods, you can provide a meal that supports their health and well-being. Remember to customize the mush based on your puppy’s preferences and consult your veterinarian for personalized advice. Happy cooking!